Cubo P Panel Building System - How it works
Get to know the Cubo P System and how it works.

If you are looking for a versatile, expandable, waterproof, durable switchboard system, look no further than the Cubo P range. Designed around a series of bases with open sides, this system allows you to create numerous configurations to best suit your application. Read on to learn the nuances of Cubo P and perhaps get some ideas for that tricky job you haven’t quite figured out yet. Please give us a call if you need any help with designing a switchboard using Cubo P, or understanding how the parts work together.
Dust & Waterproofing – IP67:
to achieve the IP67 rating, all side cover plates, connection kits, extension frames, and covers have a 3-4mm hydrophobic rubber seal (made with UV protected compounds which makes it less prone to dry-rot). This gasket is glued firmly in place and will return to its original shape even after years of use. To ensure the seals stay in contact, make sure you insert the joining pins correctly (but more on that later).
Impact Resistance – IK08:
All base parts are made from fibreglass reinforced polycarbonate which makes the switchboard solid, yet durable. Covers are made from 3mm polycarbonate and can flex to help absorb impacts. Trust us, we have tried to break these!
Tools needed to construct a Cubo P enclosure:
A flat surface – goes without saying, a rubber mallet to get the last bit of the pins in place, screwdriver set, and maybe some long-nose pliers and a pull-out tool if you are disassembling a Cubo P switchboard.
Bases:
There are four sizes of bases available which can be joined together on a flat surface, in any configuration, with as many bases as you need. The bases have open sides for easy installation of internal gear and are either 300mm, or 400mm wide. When you are designing your switchboard, you just need to match the openings (you can’t join a 300mm opening to a 400mm opening).
Connection Kits:
Once you have your bases lined up and are on a flat surface, use the connection kits to secure them together. The U-Shaped piece (called the collar) has wedge clips along the bottom that click into the bases and joins them together. Mallet the red pins in half-way, this helps to pinch the collar to the base (and so you don’t lose the pins). Set the top rib aside to put on when you are ready for the covers. *
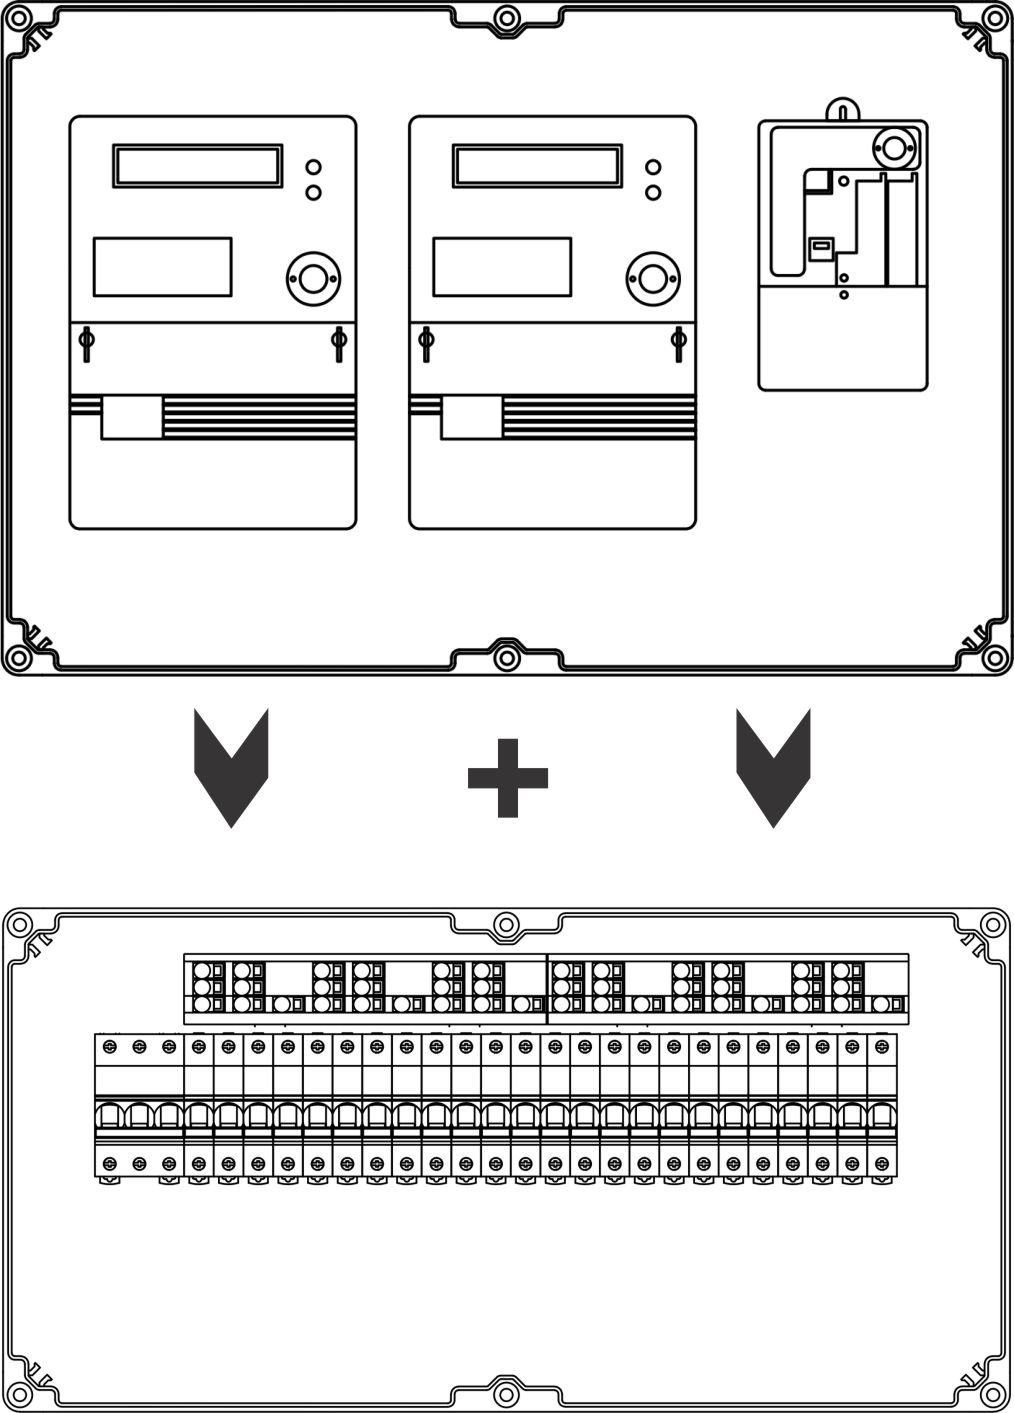
At this point, we would recommend you assemble and wire in the internal gear while you have plenty of access, and room to move in the switchboard (which, I might add, is the whole point of this system).
Side Cover plates:
At this point, you should have the internals installed, wired in, and you are now ready to close the enclosure. The cover plates can be plain, or with metric or imperial knockouts for glanding, and come in two sizes; 300mm and 400mm to cover the base openings. Use a rubber mallet (or your fist) to clip the cover plates to the base. The wedge pins are there to hold everything where it should be, it is important to install these with the ‘W’ end down. If the outside is flush the pins will go in easily, just needing an extra little tap to get them flush. Be aware that if you don’t put these in right the first time, they are very difficult to get out.
Mounting feet:
There are two options for mounting feet, the polycarbonate ones can be clipped into the base at any time, but if you are using the stainless option you will need to put these on before any extension frames or covers are fixed.
*Once you are ready to put on your extension frames, or covers, clip the connecting rib on along the top of the opening and mallet in the red pins, making sure they sit flush.
Extension Frames:
Not only is this system customisable in configuration but also in depth, the standard base and lid combination is 132mm deep but if you need extra space, we’ve got you covered. Extension frames can be added to any cabinet to give an extra 55mm in depth. This system has held its IP & IK rating with 3 extension frames on (total depth of 297), you can add more, but it hasn’t been tested and not guaranteed.
To ensure the same pressure is applied to the seal the whole way around the frame, tighten the screws in a diagonal pattern (use the grey screw head for this). You don’t need to torque these, nor is it a strength test, it is the rubber seal that stops the water, not how tight you can do the screws up.
It is a good idea to keep the grey screw head with the switchboard in case you ever need to remove an extension frame – we do have a few spares here in case you do mis-place yours.
Tip: If you are using Multiclip distribution, you will need to add and extension frame to the enclosure and use the 60mm high side profiles.
Covers:
We really don’t think we need to tell you too much about the covers, except that they come in grey or transparent, fixed or hinged, and for 300mm wide cabinets, we have the option of hinging windows and din slots. Click here to see for yourself.
Like with the extension frames we recommend tightening the cover screws in a diagonal pattern for even pressure on the frame. Just remember to put more emphasis on the black seal for waterproofing, and less on how tight you can do the screws up. The tighter the screws the harder it is for the next person to open and the more likely it is that the screw head will be damaged.
With the cabinet building behind us, you may be interested in a few of the internal options.
Side mounting rails:
There are three side rail heights to choose from, depending on how deep you decide to make your cabinet, and at what depth you need your din rail to be.
Masking Panels:
These are custom made so please send us a picture of the switchboard and measurements for any internal gear, and we will make one just for you.
Gear Trays:
Mild steel, Formica, or 6mm PVC. (6mm PVC and 4mm Formica can be custom cut).
Earth/Neutral bars:
As with all our switchboards, these are customisable and made to suit, with brass stud, tunnel bar, or spring terminal options available.
Hinging Accessories:
You will need to drill and tap the enclosure using the supplied template. Hinges and latches are available for all fixed covers. Blue hinging cover screws can be used instead of drilling hinges on.
Installation frames & Supports:
Because each site is different let us know how you want your board mounted and we will figure out the best way to make that work for you.
How to disassemble a panel:
You will need a pull-out tool (10 points for originality), the grey screw head to assist with undoing the extension frame screws, a screwdriver for the cover screws and extension frames, and perhaps some long nose pliers to assist with pulling the pins out.
If you are looking to add an extra base to an existing Cubo P board, you will need to remove the side cover plate before you clip another connection kit and base on.
To remove the side cover plates:
use the hook on the pull-out tool to pull the grey locking pin out by hooking it on one of the grooves on the pin. Try to pull the pin straight up and out so it doesn’t break or get jammed (between the pull-out tool and the pliers, you should be able to get the pin out in a re-useable condition). You will need to use a flat blade screwdriver to unclip the cover plate wedges from the base. The side covers plate should be able to be re-used.
For separating the bases:
Remove the red pins by using the same pull-out tool. Or leverage it out with a screwdriver and then use the long-nose pliers. With the red pins removed, you should be able to take off the connecting rib and unclip the wedges along the base. The connecting collar and rib can be re-used.
From here, you should be able to attach another base and re-use the connection kits and cover plates to re-assemble your switchboard.
For a switchboard system that we stumbled across merely because of the green shoes on a trade show stand (that is a story for another day), we think it is pretty neat! It is ideal for the NZ market, with our extremely diverse requirements, our DIY infused DNA, and our harsh UV conditions, this ticks all the boxes. If you want a hand with a design, we would be glad to hear from you and if you aren’t the DIY type, we would be more than happy to put your board together for you


